
Making DIY sensory bottles is a fun way to create calming and educational play for your baby. Gather colorful liquids, glitter, beads, and sturdy bottles with safe lids. Fill the bottles, seal tightly, and add personalization like stickers or toys. Use gentle shaking and slow movements to soothe your baby and promote sensory development. Keep safety in mind by inspecting for damage, supervising play, and choosing non-toxic materials. Keep exploring to discover more creative ideas and tips for customizing your bottles effectively.
Key Takeaways
- Learn how to create safe, customizable sensory bottles using various materials like glitter, beads, and colorful liquids.
- Use these bottles to promote calming, visual focus, and sensory exploration in babies through gentle movement and observation.
- Incorporate engaging and personalized elements such as toys, pictures, or decorative lids to enhance sensory and educational benefits.
- Regularly inspect and clean bottles to ensure safety, and supervise babies during play to prevent leaks or damage.
- Utilize sensory bottles as tools for emotional regulation, enhancing cognitive development, fine motor skills, and soothing routines.
![6-Pack Bulk Empty Plastic Juice Or Water Bottles with Caps Reusable 400ml Durable Smoothie [Bottle]s with Black Lids Great Calming great for [Sensory] Crafts](https://m.media-amazon.com/images/I/41SZToLqAEL._SL500_.jpg)
6-Pack Bulk Empty Plastic Juice Or Water Bottles with Caps Reusable 400ml Durable Smoothie [Bottle]s with Black Lids Great Calming great for [Sensory] Crafts
LEAK PROOF- Unlike our competitors, our empty plastic bottles are leakproof by design, including a slip that helps…
As an affiliate, we earn on qualifying purchases.
As an affiliate, we earn on qualifying purchases.
Materials Needed for Making Sensory Bottles

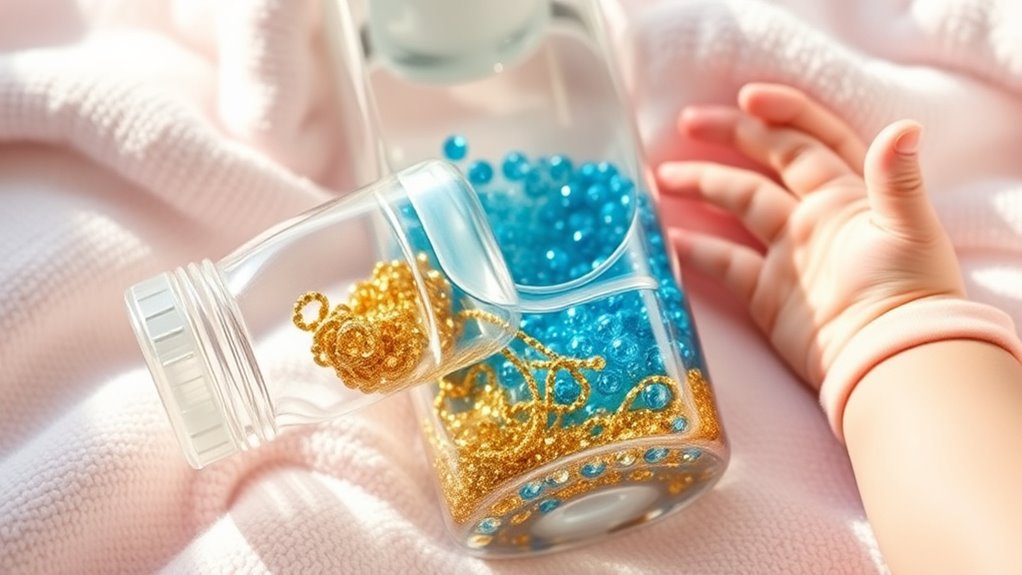
To make your sensory bottles, you’ll need a few basic materials. Start with clear plastic or glass bottles, choosing different shapes to add visual interest—round, square, or hourglass. These bottle shapes influence how the contents move and catch the light, enhancing sensory stimulation. You’ll also need a variety of color combinations for the liquids and fillers; bright, contrasting colors work best to attract attention. Consider using food coloring, glitter, beads, or small toys to create engaging visual effects. Don’t forget a tight-fitting lid to prevent spills and ensure safety. Optional materials include water, oil, or other liquids to achieve different swirling effects. Additionally, color accuracy in the visual elements can significantly improve the sensory experience by making the colors more vibrant and engaging for babies. Incorporating AI-powered tools can help you select and match colors more precisely for a captivating display. To ensure the sensory bottles are safe and durable, consider using secure closures and non-toxic materials throughout your creation process. Using appropriate materials also helps maintain the longevity and safety of the bottles, especially when young children are involved. Incorporating space utilization strategies can help you organize your crafting supplies efficiently, making the process smoother and more enjoyable. With these basics, you’re ready to start customizing your sensory bottles for calming and educational play.
6-Pack Bulk Empty Plastic Juice Or Water Bottles with Caps Reusable 400ml Durable Smoothie [Bottle]s with Black Lids Great Calming great for [Sensory] Crafts
LEAK PROOF- Unlike our competitors, our empty plastic bottles are leakproof by design, including a slip that helps…
As an affiliate, we earn on qualifying purchases.
As an affiliate, we earn on qualifying purchases.
Step-by-Step Guide to Creating Your Sensory Bottles
Creating your sensory bottle is a straightforward process that starts with gathering all your materials. First, choose a clear container and fill it with water, glitter, or small colorful objects. Seal it tightly to prevent leaks. Next, add items like beads or buttons to encourage sensory exploration. Secure the lid with glue if needed. This activity supports your baby’s developmental benefits by enhancing their visual and tactile senses. Use the following table as a visual guide:
| Step | Action | Focus |
|---|---|---|
| 1 | Gather your materials | Preparation for exploration |
| 2 | Fill container with liquids/objects | Creating visual stimuli |
| 3 | Seal tightly | Safety and durability |
| 4 | Shake and observe | Promoting sensory exploration |
| 5 | Introduce to your baby | Support developmental benefits |
Enjoy watching your baby discover new textures and colors.

8PCS Sensory Bottle Kit for Toddlers, DIY Calming Bottles with Decorative Fillers, Calm Down Corner Supplies,Preschool & Kindergarten Classroom Must Haves
Complete DIY Sensory Bottle Kit – Unleash creativity with our all-in-one kit, including 8 clear plastic sensory bottles…
As an affiliate, we earn on qualifying purchases.
As an affiliate, we earn on qualifying purchases.
Tips for Engaging Your Baby With Sensory Bottles

Engaging your baby with sensory bottles is all about capturing their attention and encouraging exploration. To maximize visual engagement, hold the bottle steady and move it slowly to allow your baby to follow the objects inside. Use bright colors or contrasting patterns to make the visuals more *fascinating*. For auditory stimulation, shake the bottle gently to produce soothing sounds or rattle noises that pique their curiosity. Vary the speed and intensity of shaking to keep their interest alive. Keep eye contact and talk softly as you demonstrate how the bottle moves and sounds. This interaction helps your baby connect visual and auditory cues, fostering their sensory development. Additionally, being mindful of the visual appeal of the contents can enhance the child’s fascination and engagement. Creating a comfortable environment can also make the experience more relaxing and enjoyable for your little one. Incorporating natural materials like small stones or dried pasta inside the bottles can further stimulate their senses and promote curiosity. Using mindfulness techniques during play can help your baby develop better focus and emotional regulation, setting a foundation for healthy mental development. Remember, your enthusiasm and gentle guidance make the experience more *engrossing* and enjoyable for your little one.

Samiusy Tactile Sensory Toys for Babies 6+ Months & Toddlers 1-3 Years | 6-Textured Sensory Mats for Fine Motor Skills | Washable Baby Play Wall Toys (6 Pack)
Multi-Textured Toys for Sensory Development: This set features six sensory mats, each offering a different texture, including mirror,…
As an affiliate, we earn on qualifying purchases.
As an affiliate, we earn on qualifying purchases.
Safety Considerations and Maintenance

Ensuring safety and proper maintenance of sensory bottles is essential to keep your little one both engaged and protected. Regular cleaning procedures help prevent mold, bacteria, and residue buildup, so wash bottles thoroughly with soap and water after each use. Check for any cracks, leaks, or loose caps that could pose choking hazards or spills. Always inspect the contents to ensure they remain secure and intact. Using appropriate storage solutions, like a dedicated container, keeps bottles clean and prevents accidental damage or contamination when not in use. Keep sensory bottles out of reach of small children when unsupervised. Proper maintenance not only prolongs the life of your DIY bottles but also guarantees a safe and soothing experience for your baby every time. Additionally, reviewing your IRA inheritance rules can help you understand how to safeguard your assets and avoid potential risks. Regularly monitoring the indoor air quality in your environment also supports a healthy space, especially when children are involved. Incorporating air purifier features and technology, such as HEPA filters and UV light, can further enhance your indoor environment’s safety and cleanliness. Being aware of gelato flavors and ingredients can also help you choose safe, allergen-free options if your baby has sensitivities. It’s also beneficial to stay informed about toxic foods for birds, as many household items can inadvertently be dangerous if not properly stored.
Creative Ideas to Customize Sensory Bottles

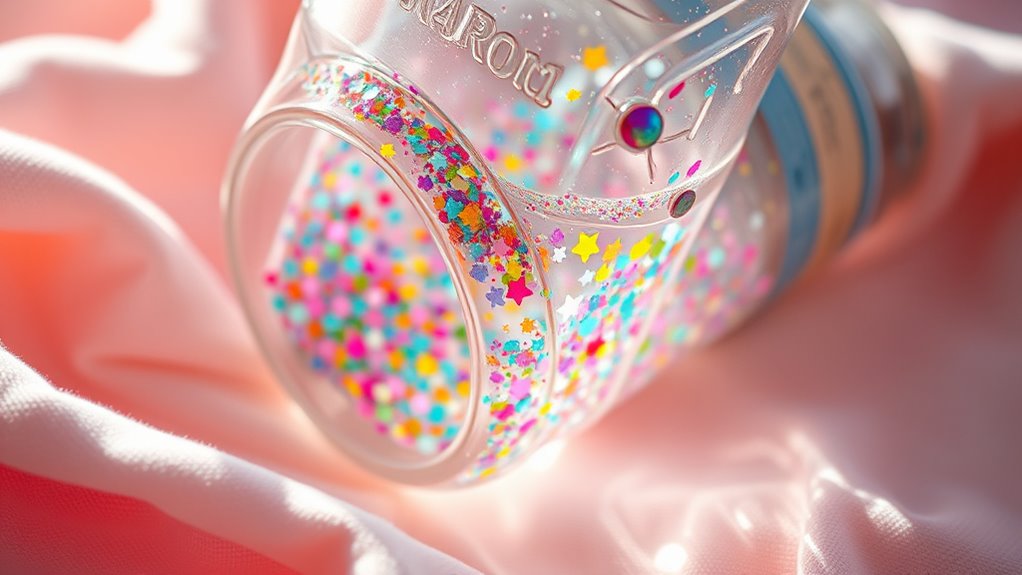
Once you’ve mastered the basics of maintaining your sensory bottles, you can start exploring ways to personalize them. Using decorative fillers is a simple way to add visual interest—think glitter, tiny beads, or colorful rice. These fillers create engaging visuals that captivate your baby’s attention. Personalization ideas also include adding small toys, photographs, or themed items that reflect your child’s interests. You can customize the bottle’s lid with stickers or paint for a fun, unique touch. Consider using labels with your child’s name or special messages to make the sensory bottle even more special. The key is to combine creativity with safety, ensuring all materials are child-friendly and securely sealed. Personalizing your sensory bottles makes playtime more meaningful and encourages your child’s curiosity. Additionally, understanding the Cookies and Privacy Management highlights the importance of engaging and dynamic content, inspiring you to create sensory bottles that are as captivating as major entertainment events. To enhance your child’s development, incorporating sensory stimulation techniques can be especially beneficial for their growth. For example, selecting child-safe materials ensures a safe and enriching experience. Moreover, researching retirement planning options can help parents prepare for future financial needs, allowing more focus on meaningful activities like crafting.
Frequently Asked Questions
How Long Do Sensory Bottles Typically Retain Their Calming Effects?
The duration effectiveness of sensory bottles varies depending on your baby’s mood and activity level. Typically, the calming duration can last from a few minutes up to 15-20 minutes. You might notice the calming duration shifts as your little one grows or if they’re particularly restless. Keep an eye on their behavior, and if needed, refresh or create new bottles to maintain the calming effect and support their sensory exploration.
Can Sensory Bottles Be Used for Babies With Special Needs?
Think of sensory bottles as a tailored suit—perfectly customized to fit your baby’s needs. Yes, sensory bottles can be used for babies with special needs, but it’s essential to prioritize sensory bottle safety and customize sensory bottle options to suit their sensitivities. By adjusting the contents and ensuring safe materials, you create a calming tool that supports their development and comfort, making each bottle a personalized haven.
What Age Is Safest for Introducing Sensory Bottles?
You should consider age appropriateness and safety considerations when introducing sensory bottles to your baby. Typically, it’s safest to guarantee your baby is around 6 months old when they can sit steadily and understand not to shake or bite the bottle. Always supervise play, ensure there are no small parts, and choose bottles that are durable and secure. This way, you support safe exploration and development.
How Often Should Sensory Bottles Be Replaced or Refreshed?
You might worry about safety considerations, but with proper care, sensory bottles stay safe longer. Refresh or replace them every few months to maintain visual appeal and prevent mold or residue buildup. Regularly check for cracks or leaks, especially if you’ve done DIY customization. Doing so guarantees your baby’s play remains both stimulating and safe, offering continued calming benefits without compromising safety or educational value.
Are There Non-Liquid Alternatives for Sensory Bottles?
You can definitely explore non-liquid alternatives for sensory bottles. Using different sensory bottle materials, like small beads, rice, or pom-poms, provides engaging textures and sounds without liquids. These options are safe, easy to customize, and can be refreshed regularly for variety. Just make certain the materials are secure inside the bottle and non-toxic, making them a fun, safe choice for calming and educational play for your baby.
Conclusion
Creating sensory bottles is like crafting tiny, swirling worlds that captivate your baby’s senses. With just a few simple materials and some creativity, you can turn everyday items into calming, educational playthings. Keep safety in mind and personalize each bottle to match your baby’s interests. As you watch them explore and learn, you’ll see these bottles become treasured tools—like little bubbles of wonder floating peacefully in their world. Happy creating!