
To make homemade baby yogurt melts, start with plain full-fat yogurt, natural fruit purees like mashed bananas or berries, and avoid added sugars or honey. Spoon the mixture into silicone molds or parchment-lined trays, filling them evenly. Freeze until solid, then store in airtight containers for up to a month. Serve straight from the freezer or after a quick soften, and always supervise your little one. Keep exploring for more tips on creating nutritious, safe snacks.
Key Takeaways
- Use full-fat plain yogurt mixed with mashed fruits like bananas or berries for natural sweetness.
- Fill silicone molds or parchment-lined trays evenly with the yogurt mixture before freezing.
- Freeze until solid, then store in airtight containers for up to one month, labeling with the date.
- Serve directly from the freezer or after softening for easier handling; supervise during snack time.
- Focus on simple, nutritious ingredients to create a safe, melt-in-your-mouth treat suitable for babies.

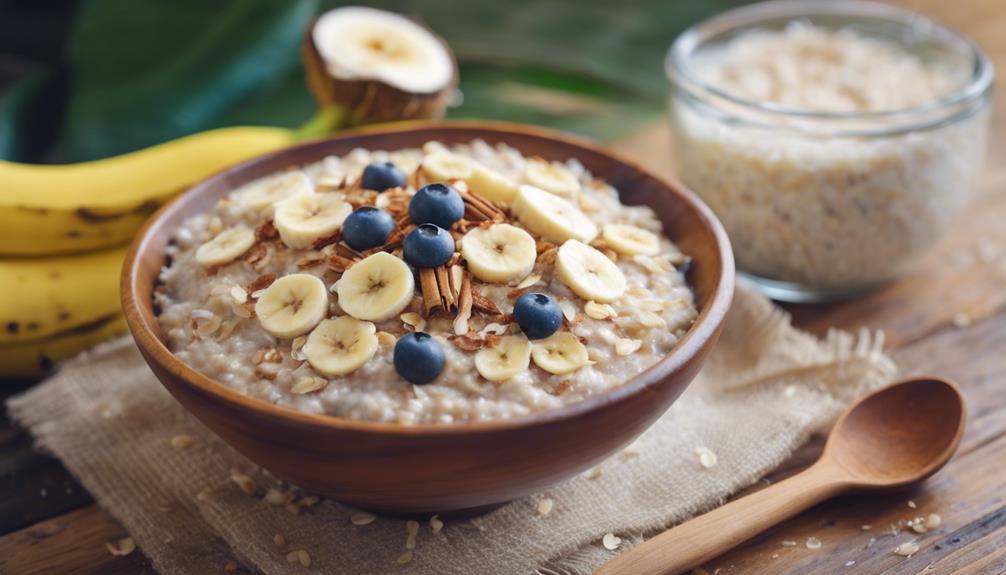
Making homemade baby yogurt melts is a simple and healthy way to give your little one a tasty snack. These melts are not only easy to prepare but also provide a nutritious treat that you manage from start to finish. When making them, consider nutrition tips to ensure you’re offering a balanced snack. Use plain full-fat yogurt to provide healthy fats essential for your baby’s growth. You can add a touch of natural sweetness, like mashed bananas or pureed berries, to enhance flavor without added sugars. Avoid ingredients like honey or artificial sweeteners, as they aren’t suitable for babies under one year. Incorporating a variety of fruit purees can boost vitamin intake while making the melts more appealing. Remember, the goal is to create a snack that’s both nutritious and easy for your little one to handle.
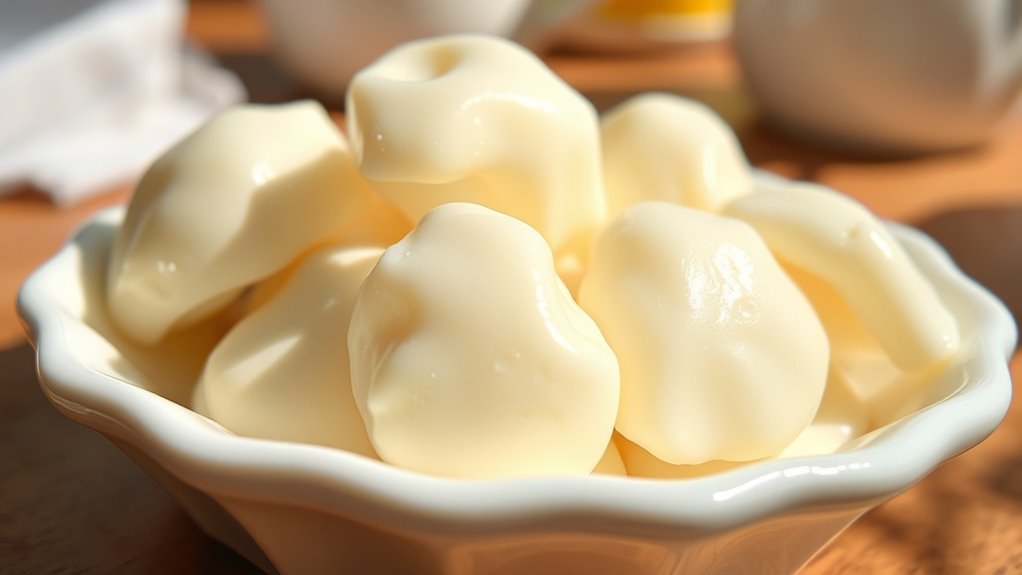
Once you’ve prepared your yogurt mixture, spoon it into silicone molds or a parchment-lined tray. Keep the thickness appropriate—not too thin, to prevent melting too quickly, but not too thick, so your baby can easily chew or dissolve the melts in their mouth. After filling the molds, place them in the freezer for several hours or until fully frozen. Once solid, pop the melts out and store them in an airtight container. Proper storage methods are key to maintaining freshness and preventing freezer burn. You can keep the melts in the freezer for up to a month, making it convenient to have healthy snacks on hand. When you’re ready to serve, simply take out a few melts, let them sit for a minute or two to soften slightly, or serve them directly if your baby has developed enough chewing skills. Always supervise your little one during snack time to ensure safe handling.
In terms of storage, airtight containers or resealable freezer bags work best to preserve flavor and texture. Label the container with the date so you can keep track of freshness. If you notice any changes in smell or appearance, discard the melts to keep your baby safe. When reheating or serving, you don’t have to thaw them completely—many babies enjoy melts straight from the freezer as they melt in the mouth. This method makes snack time both fun and practical, especially when you’re on the go. By following these simple storage methods, you can ensure your homemade yogurt melts stay fresh and safe for your baby to enjoy. Understanding the importance of color accuracy] can help you choose the best ingredients and techniques to enhance the visual appeal of your homemade treats. With a little planning, you can always have a healthy, homemade treat ready for your little one to enjoy, making snack time both nutritious and delightful.
Frequently Asked Questions
Can I Substitute Dairy-Free Yogurt in This Recipe?
You can definitely use dairy-free alternatives for yogurt substitution in this recipe. If you want to make it dairy-free, simply choose a plant-based yogurt like coconut, almond, or soy. Just make certain it’s unsweetened and plain to keep the flavor balanced. Using dairy-free yogurt works well and keeps the recipe suitable for those with dairy allergies or sensitivities, making it a versatile and tasty snack option.
How Long Do Homemade Yogurt Melts Stay Fresh?
Did you know homemade treats often last 1 to 2 weeks? For yogurt melts, their shelf life depends on storage. Keep them in an airtight container in the fridge to stay fresh longer, typically up to a week. Proper storage tips help prevent spoilage and maintain their melt-in-your-mouth texture. If you want them to last even longer, consider freezing, which can extend freshness for up to a month.
Are There Any Allergens to Watch Out For?
You should watch out for common allergens like nuts and soy in homemade yogurt melts. If your baby has a nut allergy, avoid adding nuts or nut-based ingredients. Similarly, if there’s a soy allergy, skip soy-based products or flavors. Always check the ingredients you plan to use, and consider consulting with your pediatrician to guarantee the recipe is safe for your little one, especially if allergies are a concern.
Can I Add Fruit Purees for Extra Flavor?
Feel free to experiment with fruit puree variations to add appealing flavors. You can incorporate smooth, sweet fruit purees like banana, pear, or apple to enhance taste and texture. For flavor enhancement tips, blend fruit thoroughly for a seamless snack. Just guarantee the purees are pure and free of added sugars or additives. This way, your homemade melts will be more flavorful, fun, and nutritious for your little one!
What Is the Best Storage Method for These Snacks?
You should store these baby yogurt melts in airtight storage containers to keep them fresh and prevent moisture from affecting their texture. For best results, use resealable plastic bags or glass containers with tight-fitting lids. Keep them in the refrigerator, following refrigeration tips like placing them on a middle shelf away from the door to maintain consistent temperature. This way, your snacks stay safe and delicious for your little one.
Conclusion
Now, as you watch these tiny melts dissolve in your little one’s mouth, you’re reminded that simple ingredients can create moments of joy. Just like their giggles echoing through the room, these soft treats blend health with happiness. You’ve turned everyday yogurt into a melt-in-your-mouth delight, transforming a basic snack into a tender, memorable experience. It’s a small step, but one that fills both their belly and your heart with warmth and pride.